Skip to content

Soil Stabilization Fabric

$185.29


FREE SHIPPING
SKU ESS5.0450

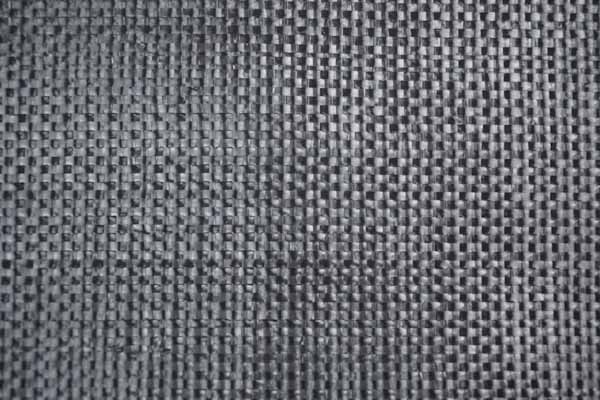
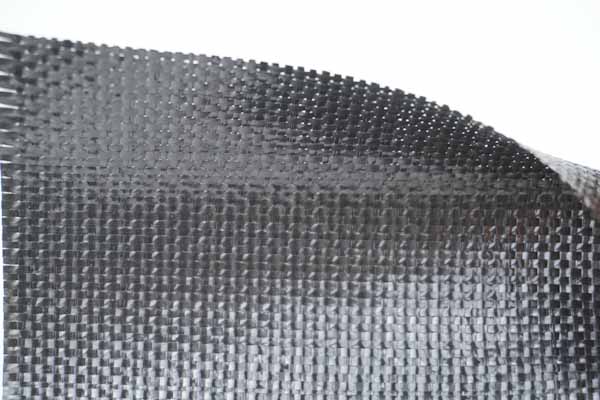
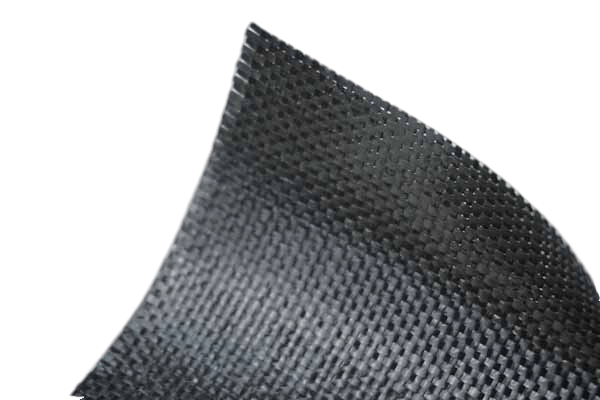
Our soil stabilization fabric is a high strength and dimensionally stable woven fabric that is commonly used to provide separation and stability. It can be used for base reinforcement for roadways, driveways, and sidewalks. Made from 100%  Polypropylene to resist ultraviolet light deterioration. It is inert to commonly encountered soil chemicals. The fabric will not rot or mildew, is non-biodegradable, and is resistant to damage from insects and rodents.
Our fabrics are available in a variety of widths and lengths the shortest roll being 27’ and the longest 432’ with widths that vary from 12.5’ to 17.5’ there is a roll size that will meet your project needs.

These are stocked in four locations throughout the USA for faster shipping.

Looking for landscape staples? Click here>

Staples are sold separately.

Product Info

  • Heavy-duty woven geotextile provides excellent base support for roadways, parking lots, paver patios and driveways
  • Reduces the amount of base materials required for the project
  • Excellent puncture and tear resistance
  • Mildew and rot Meets most DOT specs
  • Material: Polypropylene woven fabric

Downloads:

SHIPPING

✔  All items ship for free

☏  Call: (800) 583-4891 for pricing and shipping questions.

This material ships from either California, Minnesota, New Jersey or Georgia. Orders typically ship same day (if placed before 12 PM EST)

Note: The day that the order ships does not count as a transit day. We are unable to expedite fabric shipments faster than what is displayed on the map below.

Stabilization/Separation Fabric Instructions

1. Prepare Subgrade

Level, smooth out, and compact subgrade prior to installation.

2. Overlap Fabric

Place fabric on area smoothly and pull taut. Overlap 18- 24 inches, depending on subgrade. For best results, secure fabric with Fabric Staples by staggering 1.3 staples per square yard.

3. Add Base Material

Carefully back dump base material onto fabric. Properly installed fabric can improve the long-term performance of your project 50-70%.

Fabric_Install5.jpg__PID:755788ca-82a9-45b6-aed7-7e2fb7a961de

Create A Gravel Driveway Using Simple Steps

A gravel driveway is easy on your budget, requires very little maintenance, and gives the driveway a uniform, classic look. Also, if you are handy, you can install this driveway yourself, unlike other types of driveways. On the other hand, if you do not want to rent out heavy equipment this project will be very difficult to carry out. You might want to consider hiring a reliable company dealing with driveways to help you.

Country Gravel Driveway

Gravel Driveway at Country House

Preparing For A Gravel Driveway

Before thinking about laying down gravel, you must map out the driveway, calculate how much gravel will be needed, and get all the needed tools for the project. Once you get everything in order, you should be able to create a seamless, beautiful driveway.

Before putting the horse before the cart, decide where you want the driveway to be located. You should survey the entire area to find the best place. Decide on the location and shape to create the best driveway that works for you.

If you want a parking area, you will have to think about the amount of space you will need and then crunch your numbers.

When choosing the location, make sure the driveway will drain properly. The rainwater should run off the sides and away from your home or other structure it might be near. If your driveway will have a steep slope, you might consider installing a drainage system, like a French drain, before starting construction on the driveway.

Apply For The Permit

Check with your city or county to find out if you will need a permit before starting construction. In most cases, you will need a building permit or pay a given tax. Check with your city or county before starting the project to find out what kind of permit you will need along with the total costs involved.

Once you have the initial design for the driveway, outline it to make sure it fits in your chosen space Create one long side of the driveway by inserting stakes or sticks every 8 to 10 feet. Put the second set of stakes approximately 10 to 12 feet across the driveway to mark its width. Tie string or twine across the stakes to create the outline of your driveway.

Finished Gravel Driveway

Gravel Driveway Leading to House

Consider The Costs

A straight, rectangular driveway will save money while a wider driveway will require more gravel, and a curved driveway will take more time to build.

Clear And Dig The Area

It's time to prepare the area by removing grass, topsoil, shrubs, or vegetation from the staked area, You should dig 4 to 6 inches of soil for each layer of rock. Use a shovel or a backhoe for best results. You might consider hiring a local excavator to take care of this step. Keep in mind, clearing the ground for preparation can be very hard work.

The Number Of Layers For Stability

The driveway should have 3 layers of rock for good stability. The bottom layer should consist of crushed stone, limestone, or concrete in variable shapes with diameters around 1 to 3 inches. The middle layer is usually 2 to 3-inch stones and the top layer should be pea gravel, crushed stone, or limestone ranging from 1/8-inch to 2 inches in diameter.

Driveway with Landscaping

Gravel Driveway with Landscaping

Determine The Amount Of Gravel For Each Layer

Measure the length and width of the driveway but if it's a curvy driveway, measure it in smaller sections then add them together for the total results. Determine the depth of each rock layer which is normally at least 4 to 6 inches. Change the depth to feet and divide the number of inches by 12.

Using feet, multiply the length, by the width, by the depth. Divide the total by 27 to get the layer's cubic yards of gravel. Calculate (the same way) the amount of gravel for each layer.

If you will be adding a border of bricks, timber, or landscaping edging, The total should include the edges you want to cover with the border material.

To provide your driveway with added stability and reduced maintenance, consider installing a geotextile layer below the first layer of gravel. This will keep the soil from mixing with the gravel.

Schedule The Gravel Deliveries

You should order the gravel in separate deliveries for each layer of stone Schedule them approximately 2 to 3 days apart from each other so you can spread each layer and let it settle before starting on the next layer. In some cases, delivery trucks can spread the gravel or place small piles along the driveway to make spreading easier.

Rent Equipment & Tools And Buy Materials

You might want to rent equipment to move the project along faster and easier. You could rent a tractor for spreading gravel or a mechanical compactor to press down the rocks and dirt. You can rent tools from a local home improvement center or a tool rental company. Just make sure you have the tools and materials ready including a weed barrier and your border materials.